Showing posts with label bracelet. Show all posts

Saturday, January 28, 2012

DIY- Links and Leather Bracelet

Hey Cats!

I am so happy to have finally finished this project! I bought all the materials back home before I came back to school, and I finally got around to finishing it this afternoon! My original plan was to follow the exact directions from studs and pearls for the Lanyard Double Chain Bracelet (http://www.studs-and-pearls.com/2011/09/diy-lanyard-double-chain-bracelet.html), but sadly, I purchased the wrong kind of chain, so I tried, but my efforts failed. However, I might try to make it again, this time with the correct type of chain! Nevertheless, I like what I came up with, and it still has the same idea of the studs and pearls bracelet.
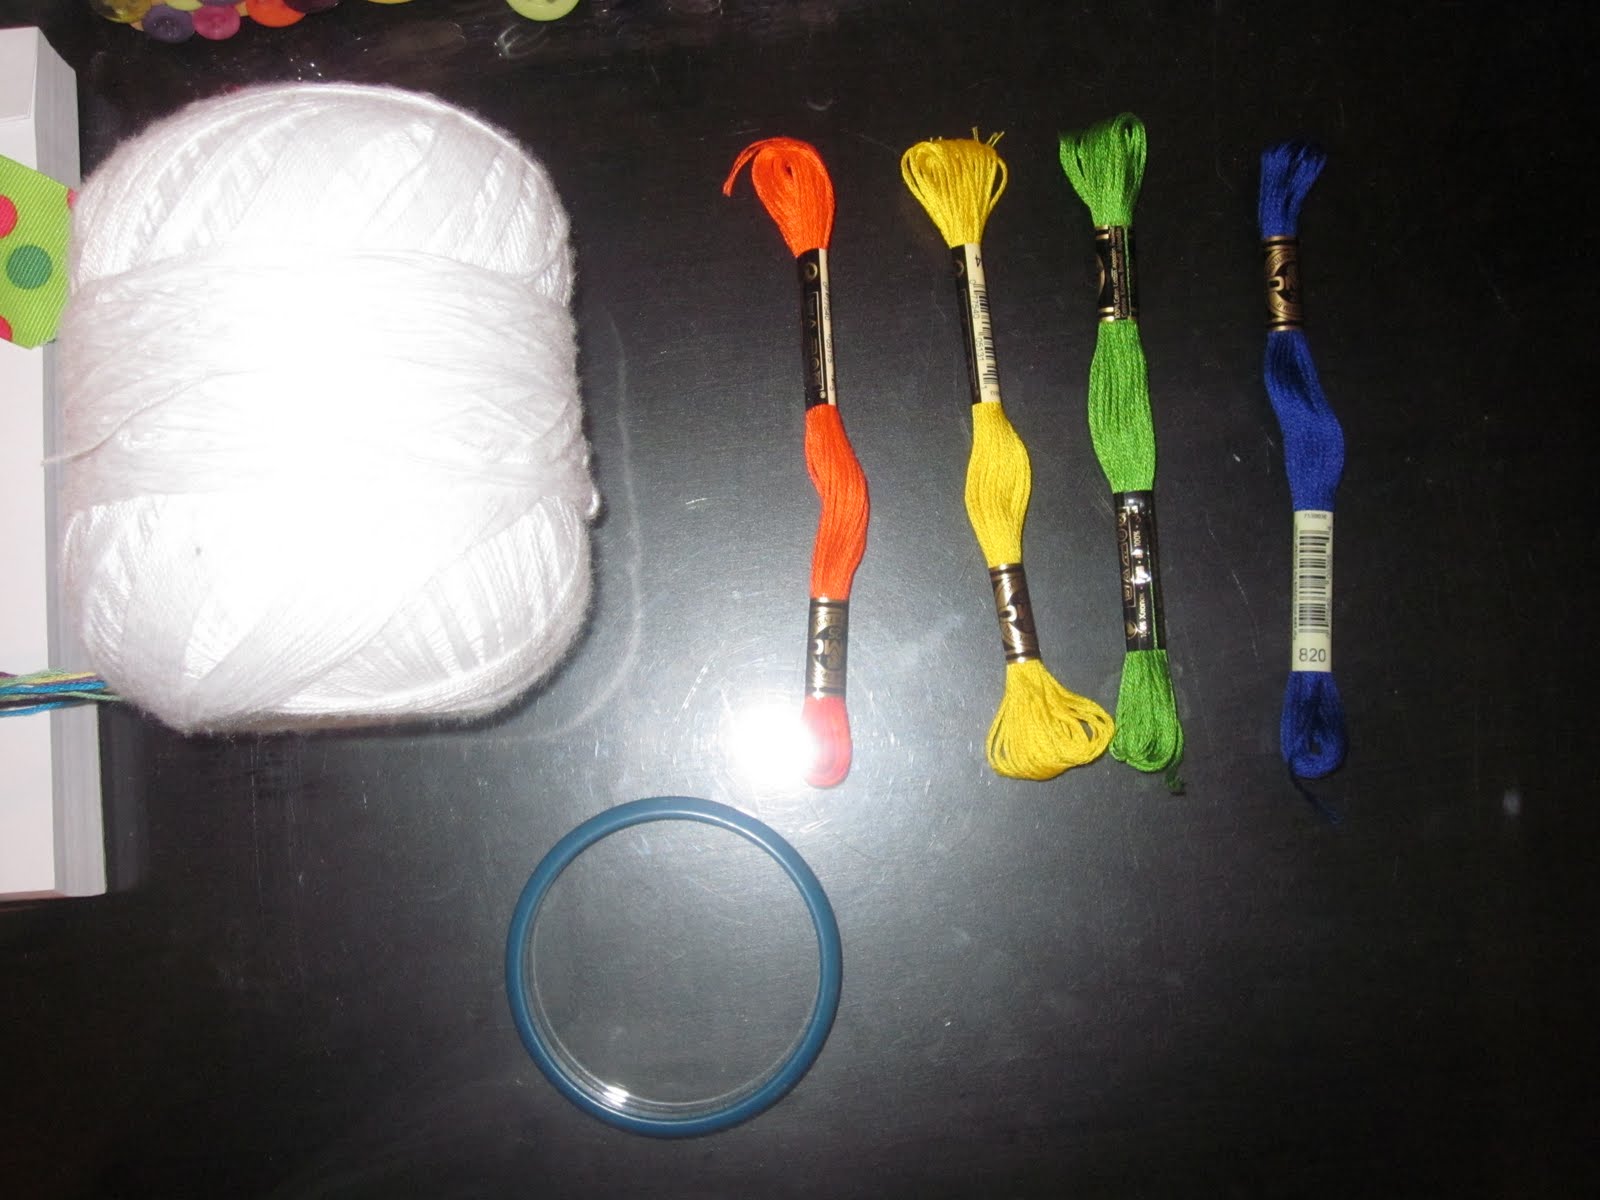
Here's what you'll need:
- Enough chain to go around your wrist twice (I bought mine the length that you see above, and didn't cut it, so if you're going to cut yours... I have no tips on how to help you. Godspeed.)
- Jump rings (I bought a package of like, 100 & used 5)
- Lobster clasps (you'll only need one, but I bought a 4-pack for future use, it's cheaper that way)
- Leather cord (You can buy the huge spool if you'd like, but that's about $15, and mine was around $4, and I still have plenty left over)
- Needlenose pliers (I think people who aren't from East Texas know these as jewelry pliers. I didn't have any, so I improvised...with a wrench. It was painful.)

And Here's what you do! :
1. First, cut a piece of leather cord, about 55-60 inches. I cut mine 60 inches when I was attempting to make the first bracelet, and so I just kept it. But I cut off around 5-7 inches when I was done, so it was a little long.
2. Locate the center link of the chain. This can be easily done by folding the chain in half, matching the two ends up, & see which link is the middle. Thread the leather cord through the center link, making sure both tails of the cord are even.
Also, to make sure you don't lose the center link (this will matter more once you start threading the cord on both sides), tie a small piece of ribbon around the center link. Or you could go ahead and put a jump ring on.

3. Begin threading the leather cord through each link of the chain. Make sure you don't pull too tight or the chain will get all caddywompus, and we can't have that, now can we?? But seriously, make sure the chain stays somewhat flat, and be careful not to twist the leather. 

4. Continue threading the leather through the chain until you reach the end of that half of the bracelet. This is what you should have:
5. Repeat steps 3 and 4 for the other side of the chain.
6. Once you finish threading the cord, you'll need to tie off the leather. Before you cut it, bring the end of the cord back through the last link of chain, towards you. You should then have a loop of leather cord at the top of the link. Bring the end of the cord up through that loop, away from you. After you pull tight, you should have a small knot.Just cut the excess cord off and it should be sturdy! (I understand that these instructions are a little difficult to understand, but I have full confidence that if you've gotten this far, you must have some level of intelligence and will be able to figure something out. Use your problem-solving skills.)
7. On the center link (the one you tied the ribbon to), attach two jump rings. The easiest way to do this is to open just one, using the pliers. Or you can pry it open with your fingers like I did, but my broken fingernails and still-hurting fingers strongly urge against it. Next, slip the ring onto the center link, but don't close it yet! Take a second closed ring and slip it onto the open ring. Then, again using the pliers, squeeze the first ring closed, making sure it is closed tightly so it doesn't break.


8. Next, on the end with the two leather knots, attach a jump ring to both of the end links on each side, and then connect them to each other
9. Then, open a new jump ring and slip it onto one of the two jump rings attaching the loose ends. Place a lobster clasp on the open ring, and then close it with the pliers, making sure it's closed tightly!
And you're done! Here's what it looks like!

I'm super excited to wear this! I hope you will try this, and give it your own little spin! You could use different colored leather cord or chain, or you could use lanyard or even strips of fabric. I chose the black and gold just because it's versatile and classic, but I will probably make another one that's a little more trendy! I don't really know what my next project will be, and I'll probably just post a blog post without a craft next, because school/life is about to start getting a little cray. So if you don't hear from me, I was most likely taken captive by Psych 107 and Comm 243, so please come find me. Until next time!

Saturday, July 23, 2011

DIY- Summer Camp Chic Bracelet

Hey Cats!
I finally finished my latest DIY project! Well, sort of. I still have to make another one, but I just couldn't wait to share :) I can't take a lot of the credit for this one, I got the idea from the March 20th post of the blog I Spy DIY (http://ispy-diy.blogspot.com/). I also got some tips from the blog ...love Maegan (http://www.lovemaegan.com/2011/03/leather-lanyard-bracelet-diy-maeg-it.html). It's really easy, and it reminds me of craft time when I went to camp in elementary and middle school. I always made lanyards, but I never knew what to do with them, so they ended up in a drawer somewhere. I wish I had thought to make bracelets out of them! Anyways, here's how you make it!

You will need:
-2 different colors of plastic string. I used Rexlace & found it at Hobby Lobby.
-A toggle clasp set. Again, Hobby Lobby.
1) First, measure 60-80 inches of each color of lacing. Mine was closer to 60, but it depends on the size you want your bracelet. When in doubt, always go longer! (This is the information I got from ...love Maegan)

2) Next, thread both colors of lacing through the bar part of the clasp, making sure the clasp is in the very center of the lacing and the ends are even.

3) Then, tie a knot at the base of the clasp, under the loop you threaded the lacing through.
4) Now you're ready to start braiding your bracelet! Before you begin, lay your lacing out in the shape of a cross, with the colors across the knot from each other. You should keep it like this at all times while you're working.

5) Bring each pink strand across to the other side, as if they swap places, but keep them straight. Hold it down between your index finger and thumb.
6) Next, the blue strands will swap sides. Bring each blue strand over the first pink strand and under the second, making a box shape.
7) Next, with a blue strand and a pink strand in each hand, pull tight! The loops should tighten into a box like the picture, but if they don't, DO NOT freak out. I had to do this one about 15 times before it worked correctly. It just takes a little patience!

8) Repeat steps 5-7 one more time.
9) This time, we will do basically the same thing, except diagonally. Instead of bringing the pink strands straight across, you will bring them across in a diagonal. You should be able to see the box as a diamond between the two pink loops.

9) Bring the blue strands across in the same over-under manner. I recommend bringing the right strand across the top, it's just easier! And then tighten as you did the first two!
10) Repeat the diagonal box for the entire bracelet! It's actually quite easy and doesn't take a lot of concentration. I watched Dance Moms while I was making mine!
11) After a while, you will start to see a nice pattern forming
12) Keep going until it's as long as you want it to be! Mine was about 6 & 1/2 inches long.

13) When you've reached your stopping point, tie a tight knot at the end.

14) Next, string all 4 strands of the lacing through the loop on the circle part of the clasp. It might be a little challenging to get them to fit, but it can be done!
15) Tie a knot close to the clasp, leaving a little space between the end of the bracelet and the clasp.

16) Continue tying knots, remembering to pull very tightly, until the lacing is too short to do another one. I tied three.

17) Trim the lacing to the length of the shortest strand

And you're done! I would suggest burning the ends of the loose ends a little so they will stick together. I haven't done that yet, but I plan to, because the ends are annoying. Here's what mine looked like!


After I finish my sister's, I might just have to make more in another color! These are great for summer, and I just love it! I'm not really sure what my next DIY will be, but I'm working on it! Until next time!

Tuesday, July 19, 2011

DIY- All Wrapped Up Bangle

Hey Cats!
So I recently discovered that I have no bracelets. Well, except for the power beads left over from the second grade. Since then, I have been trying to build a collection of bracelets that won't make me look like a 10 year old. As I was flipping through an InStyle the other day, I came across a bangle wrapped in colored twine and thought, "I can do something like that!" And such brought about the creation of this bracelet I am about to share with you! It's a little tedious & time consuming, so be patient!

First you will need:
1 bangle-stye bracelet, or I used a plastic ring a scarf came on. You can be ingenuitive and resourceful with this. Just make sure it's a little big, because the thread will make it a little smaller than it orignally was.
1 spool of thin white embroidery thread (technically it's called Bedspread Cotton), or you can use regular embroidery thread, in which case I would suggest 2 skeins.
4 skeins (I guess that's what you call them?) of embroidery thread, each in a different color.
You can find all of these things at Hobby Lobby, or maybe Wal-Mart.

1) To begin, cut about 3 yards of the beadspread cotton. Yes, 3 yards. You will need more than you think, and it's better to have too much than not enough!
2) Tie one end of the bedspread cotton around the bracelet, leaving as small a tail as possible.

3) Wrap the thread around the bracelet in the same spot a few times to hold the tail down & to get a good start

4) Continue wrapping the thread around the bracelet, using your fingernail to make sure it is very tight!


5) Now, if for some unfortunate reason you run out of thread before you reach the end (as I did), just cut some more thread and tie it on to the existing thread. Wrap it around a few times in the same place, as we did in the beginning, to hide the tail. Then continue on about your merry way! 
6) When you reach the end, wrap the thread around tightly a few times, and then make a loose loop of thread- this will become your knot.
7) Wrap the thread around the loop twice and pull tight. This might not seem like a sturdy knot, but if the wrapping is tight enough, it will be ok! Cut off the end to make a short tail.

8) Next is the colored embroidery thread. I chose to do blue next, but you can do whatever color you like. It is a good idea to leave the thread in its skein form while you're working with it so it will be easy to pass under the bracelet & won't get tangled up.

9) Tie on the blue where you ended the white. Wrap it around a few times to cover the tail.
10) We will be doing stripes with this color. Wrap the thread around, leaving spaces inbetween. To achieve straight lines, slant the thread when you bring it around the back of the bracelet.


11) Continue wrapping in this manner until you reach your starting point. Wrap the thread around tightly a few times, and then loosely once, tying a knot as you did in step 7.
12) Now onto orange! To begin, unravel the entire skein of orange thread. Yes, this may seem frightening, and I promise, you WILL have knots. But remember, I told you this project was tedious and required patience :). String the bracelet onto the thread and make a loop around the bracelet in the very middle of the thread, centering the thread in the thick blue section on the bracelet.

13) Next, take the thread and cross it over itself on top of the bracelet. Then cross it again underneath the bracelet. Repeat a few times until you have a thick band of orange.


14) Now, take the thread from each side and cross them a little ways down from the thick band into an X.

15) Then, take the thread and cross it into an X on the back of the bracelet.

16) Continue crossing the thread in the front and then back until you reach your starting point. A tip is to hold the bracelet between your knees so your hands will be free to work!
17) When you get to the orange band, you may have to do an odd-shaped X to make it fit, since the thread needs to be underneath the bracelet. My X was a little squatty, but it's ok!

18) Wrap the thread around a few times, then tie the easiest knot of the bracelet! Just cross the thread under and pull tight, like the first step of tying your shoes! Then cut the ends off, remembering to leave short tails.


This is what you have so far!

Now that the hard part's over, I will take a short break to clean my bathroom and eat lunch, and I suggest you do the same. These things must be done. :)
19) Next, tie on the yellow thread and wrap it around a few times to cover the orange tails and the yellow tail.
20) Then, wrap the yellow diagonally between the orange X's, making sure you're wrapping very tightly!

21) When you reach your starting point, you can cut it off if you want, but I continued wrapping twice more to add a thick yellow line.

22) When you reach your starting point for the third time, tie a knot like you did for the blue and the white.
This is what you have so far!

23) And now for the green! Tie it on and wrap it around to hide the tails.


24) Wrap the green around in straight stripes, just like the blue (straight in the front, slanted in the back), in between the blue stripes.

25) Continue around until you get to your starting point, and tie off as usual. To glue down the stray tails, use a dab of clear nail polish.
And you're done! Wear it alone or with a few other solid bangles.

I hope you try this! It's a little time-consuming, but it's worth it!
The total cost of this project was $1.60, for the colored embroidery thread only, because I had the beadspread cotton and bracelet already. 
 I can't wait to show you my next project! I'm really excited about it!  
Until next time!