So I recently discovered that I have no bracelets. Well, except for the power beads left over from the second grade. Since then, I have been trying to build a collection of bracelets that won't make me look like a 10 year old. As I was flipping through an InStyle the other day, I came across a bangle wrapped in colored twine and thought, "I can do something like that!" And such brought about the creation of this bracelet I am about to share with you! It's a little tedious & time consuming, so be patient!
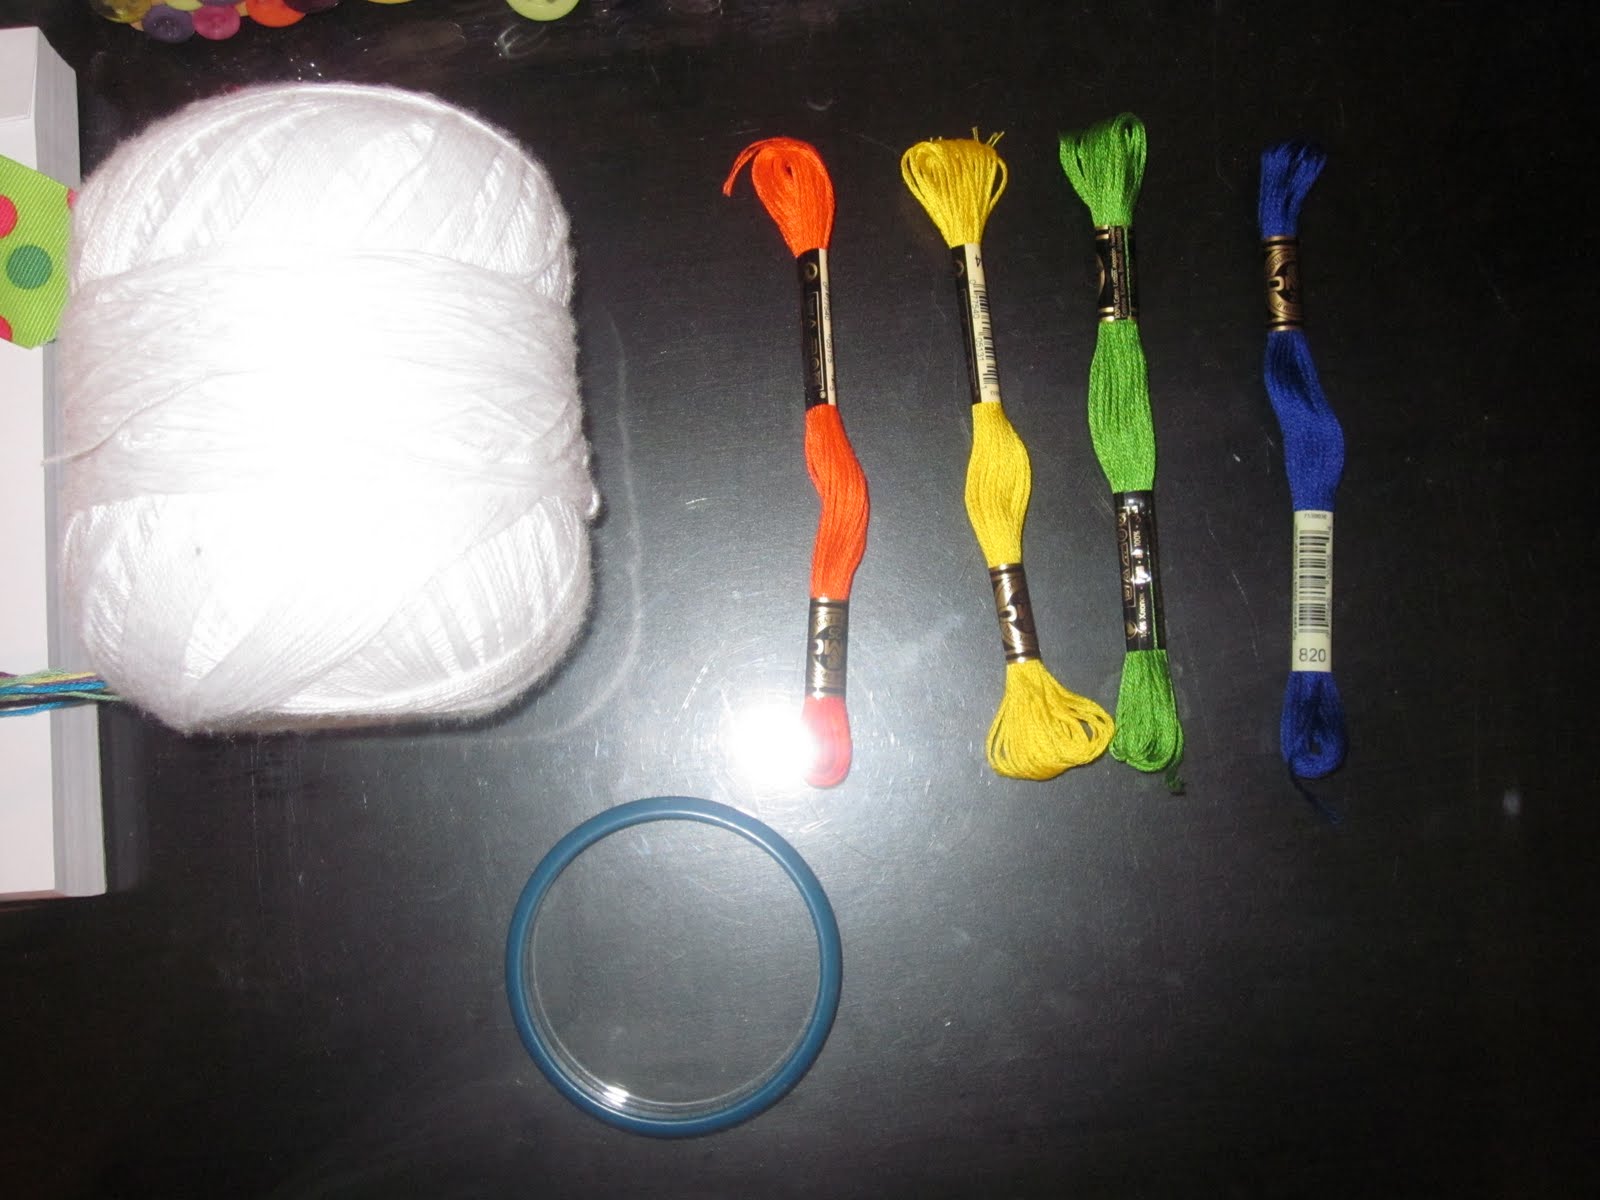
First you will need:
1 bangle-stye bracelet, or I used a plastic ring a scarf came on. You can be ingenuitive and resourceful with this. Just make sure it's a little big, because the thread will make it a little smaller than it orignally was.
1 spool of thin white embroidery thread (technically it's called Bedspread Cotton), or you can use regular embroidery thread, in which case I would suggest 2 skeins.
4 skeins (I guess that's what you call them?) of embroidery thread, each in a different color.
You can find all of these things at Hobby Lobby, or maybe Wal-Mart.
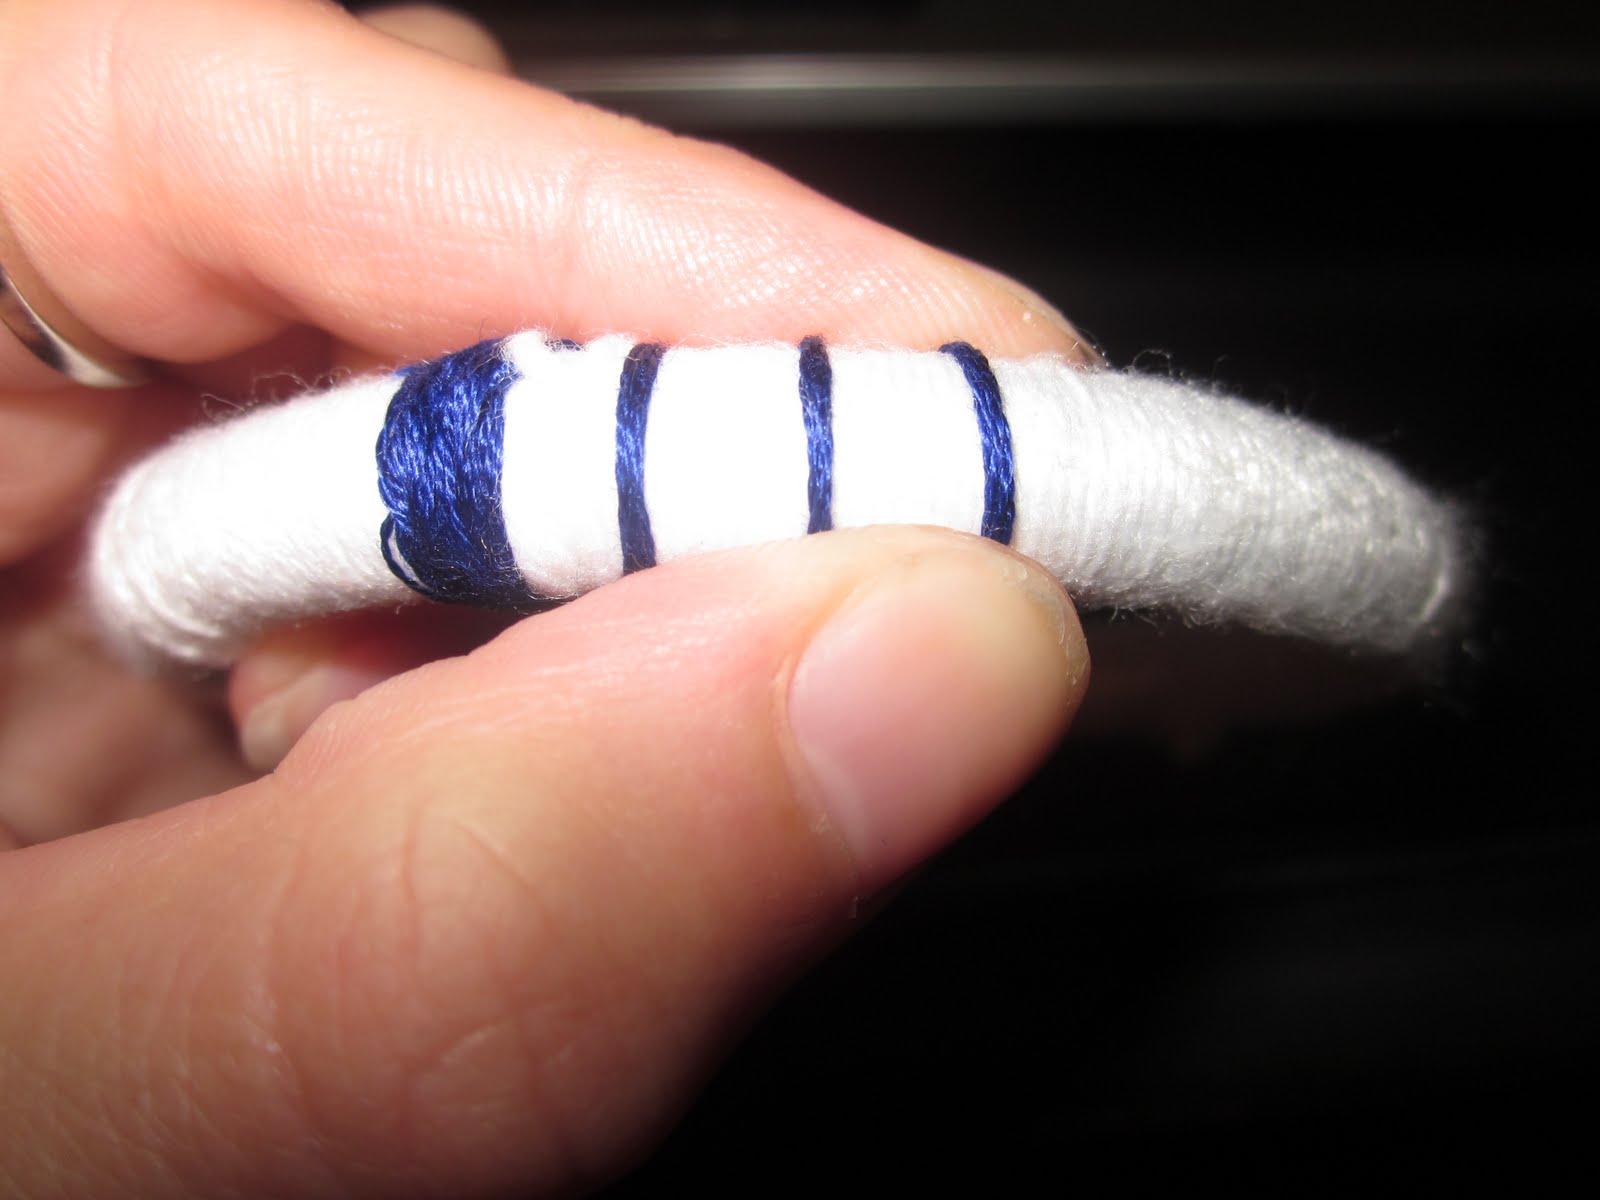
2) Tie one end of the bedspread cotton around the bracelet, leaving as small a tail as possible.

3) Wrap the thread around the bracelet in the same spot a few times to hold the tail down & to get a good start


5) Now, if for some unfortunate reason you run out of thread before you reach the end (as I did), just cut some more thread and tie it on to the existing thread. Wrap it around a few times in the same place, as we did in the beginning, to hide the tail. Then continue on about your merry way!
6) When you reach the end, wrap the thread around tightly a few times, and then make a loose loop of thread- this will become your knot.


9) Tie on the blue where you ended the white. Wrap it around a few times to cover the tail.


12) Now onto orange! To begin, unravel the entire skein of orange thread. Yes, this may seem frightening, and I promise, you WILL have knots. But remember, I told you this project was tedious and required patience :). String the bracelet onto the thread and make a loop around the bracelet in the very middle of the thread, centering the thread in the thick blue section on the bracelet.


17) When you get to the orange band, you may have to do an odd-shaped X to make it fit, since the thread needs to be underneath the bracelet. My X was a little squatty, but it's ok!


This is what you have so far!

Now that the hard part's over, I will take a short break to clean my bathroom and eat lunch, and I suggest you do the same. These things must be done. :)
19) Next, tie on the yellow thread and wrap it around a few times to cover the orange tails and the yellow tail.


This is what you have so far!


24) Wrap the green around in straight stripes, just like the blue (straight in the front, slanted in the back), in between the blue stripes.

25) Continue around until you get to your starting point, and tie off as usual. To glue down the stray tails, use a dab of clear nail polish.
And you're done! Wear it alone or with a few other solid bangles.


I hope you try this! It's a little time-consuming, but it's worth it!
The total cost of this project was $1.60, for the colored embroidery thread only, because I had the beadspread cotton and bracelet already.
I can't wait to show you my next project! I'm really excited about it!
Until next time!
No comments:
Post a Comment